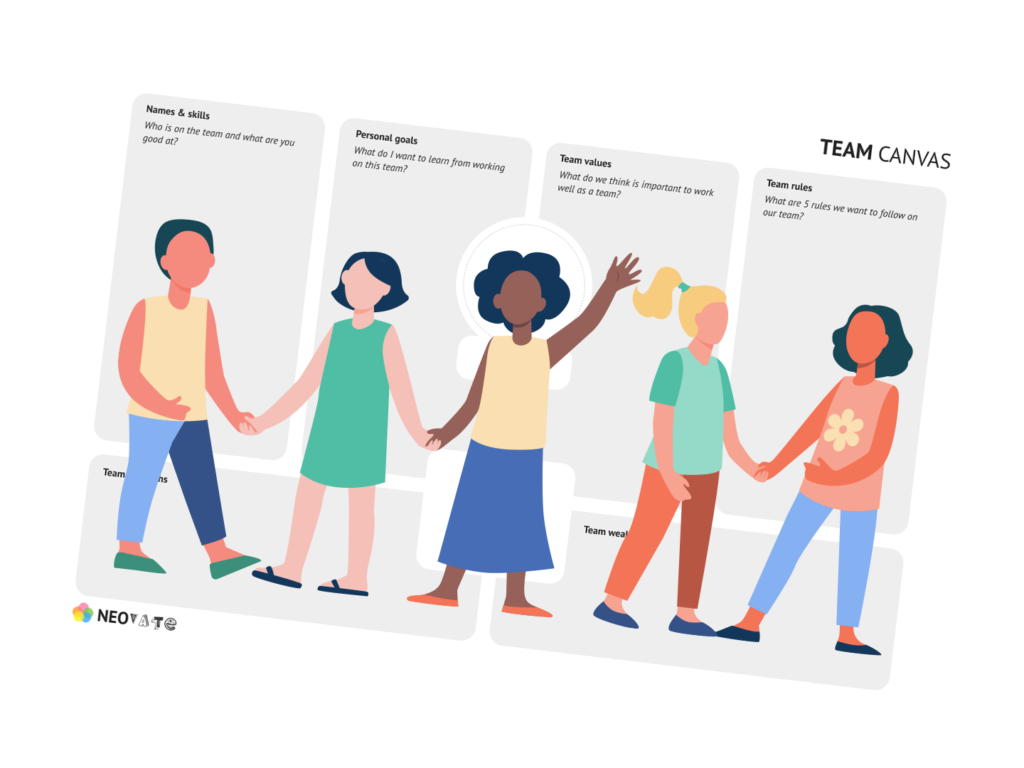
School Tools: The Team Canvas
A small group activity exploring team dynamics, skills, empathy and collaboration.

Particularly popular among agile and software development teams, it takes its full meaning when run as a workshop. Run in small groups, it presents plenty of opportunities for further explorations.
When to run the activity?
As you would expect, the Team Canvas is usually run in the team forming phase. According to Tuckman’s Phases of Team development, one of the key characteristics of team formation is focusing on group identity and purpose.
Why a team canvas?
When project teams are established, participants typically bring their own biases and expectations to the group. Besides, a new team being formed means grey areas: Principles that have not been defined yet, or that no one is considering yet. For those reasons the Team Canvas is an amazing tool for alignment and team building.
The activity is an opportunity to
- Get together as a team
- Understand each other’s differences and skills
- Agree or align to a common goal
- Reflect and agree on our common values
- Understand our strengths and weaknesses as individuals and as a team
- Define the rules we want to follow
- It touches on developing empathy, emotional intelligence, self-reflection, group-awareness and self-awareness.
How to run a Team Canvas workshop
Usually run in a 1-2 hour format, the potential for deep-diving into the Canvas’s ramifications is real – and tempting.
Of course your team size will depend on the nature of the related project, but a good rule of thumbs is to have 4 to 7 people per team.
Print a large copy of the canvas for each team.
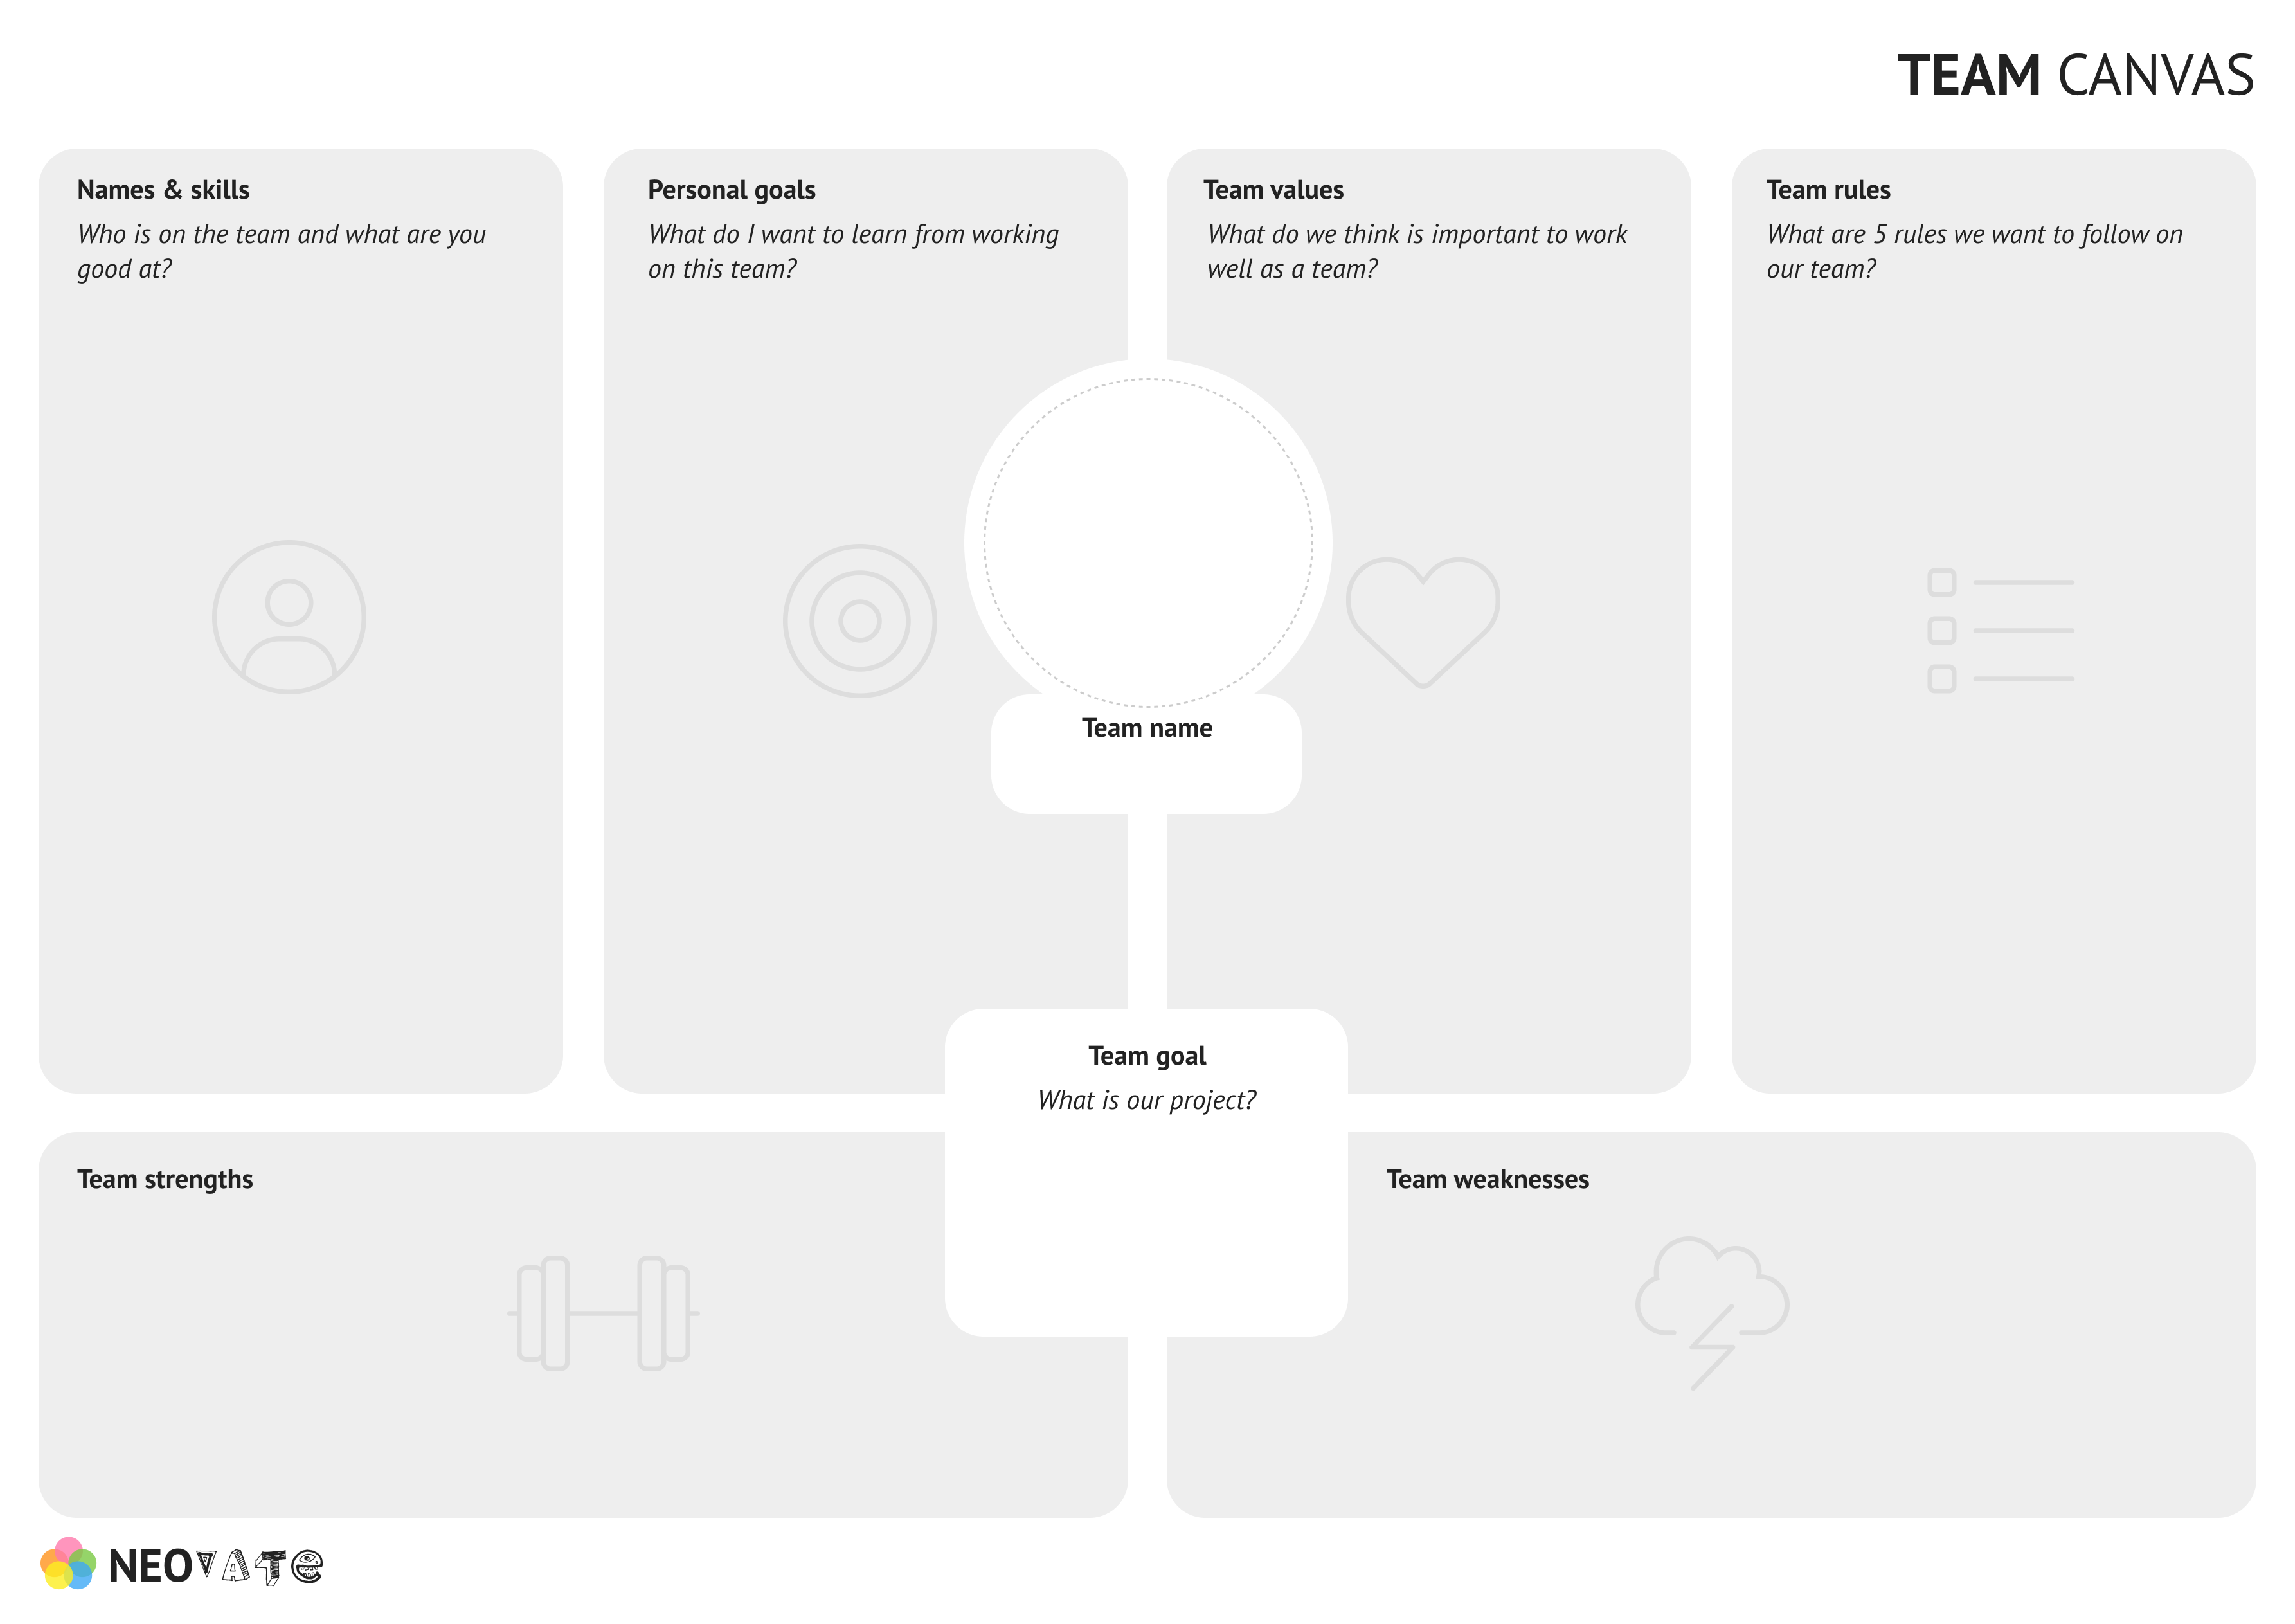
The canvas can be filled left to right, leaving the team name for the end. The team strengths and weaknesses can be revisited after the team has operated together for a little while.
Name and role or skills
Understanding what role they will be playing in the team can be challenging. It will hinge on the team’s purpose, and thus it might not be clear early-on. The same might apply in their professional life. A good starting point is to focus on each student’s skills.
Ask each students ‘3 things I am good at’. Let them capture those skills on sticky notes. No more than 1 skill per sticky.
Next within each group, call out each other’s strengths. They might want to review their list in the light of feedback!
It can also help understand the difference between what i like doing and what I am good at.
Finally ask each student to pick what they think is the most useful skill for the team and for that project.
This is the the one that will make it to the board, next to their name.
Moving on to the other boxes!
Work alone together
One key techniques of Design Thinking is ‘working alone together’.
What we want to avoid is ending up with the loudest person in the group imposing all their ideas. Or going with whoever spoke last. In the workplace, we also talk about the Hippo effect – The Highest Paid Person in the room. To break those dynamics and ensure everyone has a voice, we apply techniques such as working alone together.

In this case we have a lot of ground to cover. To avoid a very repetitive session, let’s quickly move through the themes, share and and have a second pass. This is one way to achieve it:
Spend no more than 2 minutes per box.
- No limit to stickies, but they will have to select their top 2 at the end
- Always one idea per post-it
- Explain each question
- 1 minute in, ask a few students to read out their ideas to inspire the group
- Each student sticks their best 2 notes to the canvas
- Prepare a cheatsheet of potential answers for additional inspiration.
The teams strengths and weaknesses might be difficult to appreciate. Question marks are allowed. We will come back to the canvas a few days into the project to reflect on those points.
To finish on a high, you can get the team to find a name and logo that matches their characteristics. Ideally, this should be a separate design session following the Design Thinking methodology (including proper research, ideation and testing).
Converge
Now each team should have a filled in canvas.
Let each team group the values, rules, strengths and weaknesses by similar themes, and order them top to bottom.
Present
Ask the team to nominate one person to present their canvas to the class. Help them go straight to the point and not lose themselves in the details.
Inspect and adapt
Canvases are not meant to be static. Stick them to the walls and throughout the project, ask the teams to gather around them, reflect and tweak them.
A project retrospective will also be a perfect time for self-reflection and group reflection and the Team Canvas can be a great go-to artefact.

Get weekly education innovation insights in your inbox.


